Living in a period London home certainly has its perks. You get the beautiful high ceilings, the original fireplaces, and a level of character you simply cannot find in a modern build. But underneath those stunning floorboards lies a plumbing system that might have been quietly plotting against you since 1890.
If you constantly find yourself battling slow-draining sinks or unexpected gurgling noises, you are far from alone. Navigating old property drainage London is a common headache for homeowners right across the capital. A combination of ageing materials, historic building quirks, and the demands of modern living means these older pipes require a bit more care and attention.
We’ve spent years unblocking, inspecting, and repairing these historic networks. In this guide, we will explain exactly why your period property’s drains are so prone to backing up, the warning signs you need to watch out for, and what you can do before calling in our team for professional help.
Why older London homes are more likely to block up
It is easy to blame a blocked drain on a rogue wet wipe or too much cooking fat. While those definitely do not help, the root cause in an older property usually comes down to the simple passage of time.
Old pipe materials (and why they don’t age gracefully)
When Victorian and Edwardian builders laid down drainage systems, they relied heavily on clay pipes and cast iron. While these materials were incredibly durable for their time, a century of ground movement and water flow takes its toll. Clay pipes feature rigid joints that become brittle and crack as the earth shifts around them. Meanwhile, cast iron pipes slowly corrode over decades, creating a rough internal surface that eagerly catches loose debris, hair, and soap scum.
Victorian layouts weren’t designed for modern living
Think about how much water a Victorian household used compared to us today. They certainly did not have power showers, dishwashers, and washing machines running daily. Modern households pump a significantly higher volume of water—alongside grease, chemical cleaners, and modern sanitary products—through pipes that were originally designed for a much simpler era. The system simply gets overwhelmed.
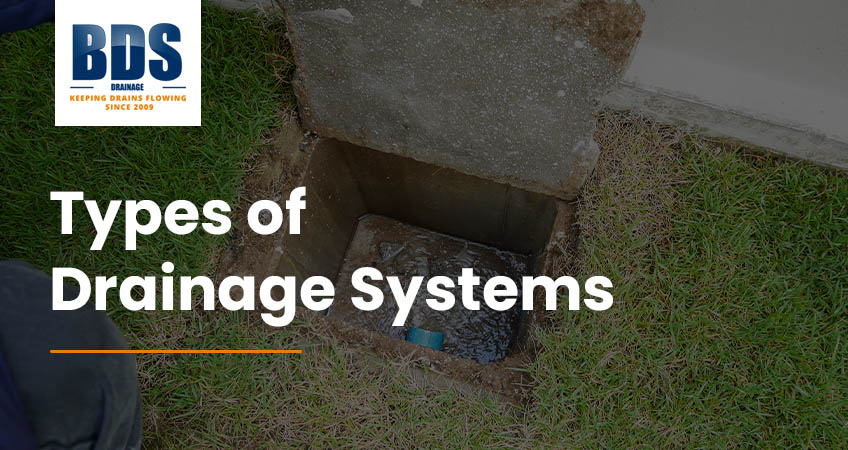
Common victorian drains problems we see in London
Every property has its quirks, but we consistently run into the same handful of issues when we get called out to period homes. If your plumbing is acting up, one of these problems is likely the culprit.
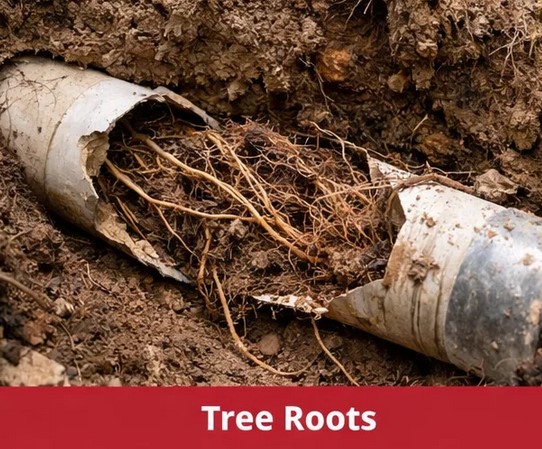
Tree root ingress (London’s leafy streets aren’t always drain-friendly)
London is brilliantly green, but those beautiful mature trees lining your street have incredibly thirsty roots. These roots actively seek out moisture, and the tiny cracks in old clay pipe joints provide the perfect entry point. Once inside, the roots grow rapidly, creating a dense net that catches waste and eventually blocks the pipe completely.
Silt, scale and historic muck build-up
Hard water is a notorious issue across the south east. Over several decades, limescale builds up inside your pipes, narrowing the channel that water can flow through. Combine this scale with years of accumulated silt, grease, and general “historic muck,” and your drains become a serious bottleneck just waiting for a blockage.
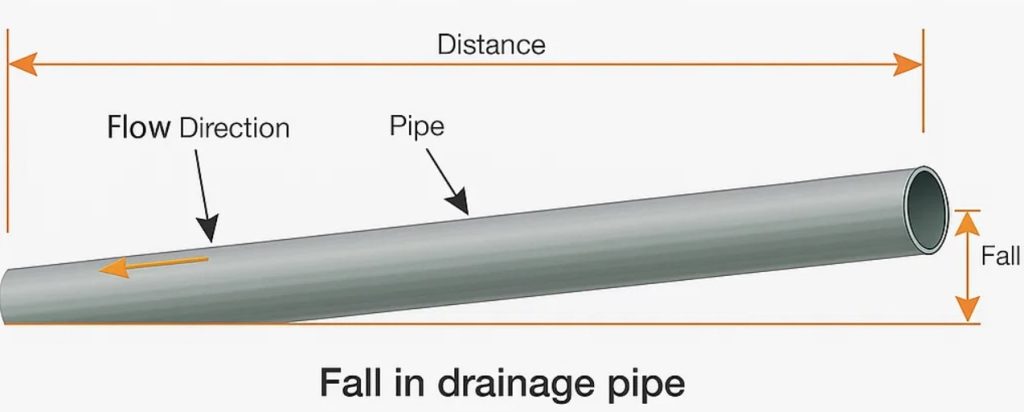
Poor falls, bellies and shifting ground
For water to flow away properly, pipes need a consistent downward slope, known as a fall. Over the last hundred years, the ground beneath your home has naturally settled and shifted. This movement can cause sections of your pipework to dip, creating “bellies” where water and solid waste pool together instead of washing away.
Misconnected or altered pipework from past renovations
Most older properties have been through several rounds of renovations, extensions, and loft conversions. Unfortunately, not all historical builders were meticulous with their plumbing. We frequently find misconnected pipes, wrong gradients, or old redundant lines left in place that confuse the water flow and cause persistent backing up.
Pitch fibre pipework (the 70s surprise in an older home)
If your period home was updated in the 1960s or 1970s, you might have inherited pitch fibre pipes. Made from wood cellulose impregnated with coal tar, these were introduced as a cheaper, lightweight alternative to clay. Fast forward to today, and these pipes are notorious for blistering, delaminating, and collapsing entirely under pressure.
The tell-tale signs your period property drains are heading for trouble
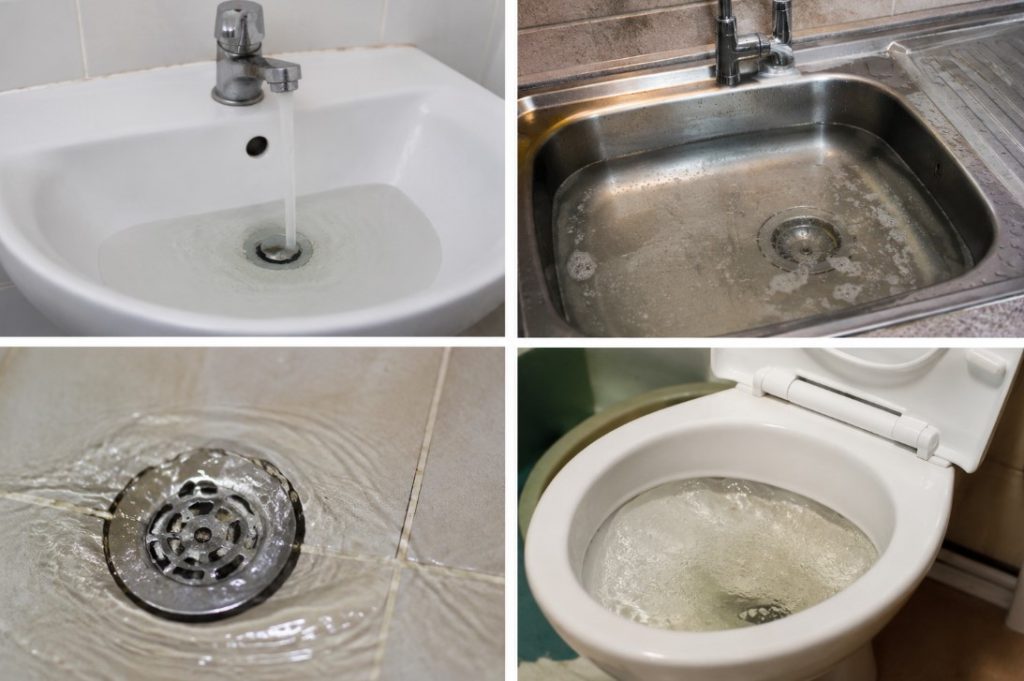
Drains rarely fail overnight without giving you a few hints first. Catching the problem early can save you from a messy and stressful emergency. Look out for these warning signs:
- Slow draining sinks, baths, or showers
- Strange gurgling sounds coming from the plughole when you empty a basin
- Lingering bad smells inside the house or out near the inspection chamber
- Toilets backing up or water rising dangerously high when flushed
- An outside gully overflowing with grey water or debris
- Unexplained damp patches appearing on your lower walls or near external drains
- Repeated blockages that seem to clear up for a week, only to return again
What period property owners can do before calling in the professionals

If you notice the signs of a blockage, your first step is damage control. Stop using the affected fixtures immediately to prevent dirty water from overflowing onto your floors.
You can safely check a few obvious culprits yourself. Wearing rubber gloves, clear away any visible hair from your plugholes and remove wet leaves from your outside gully. If you feel confident, place a bucket under your sink and carefully unscrew the U-bend trap to clear out any trapped food or grime.
However, you must be cautious with DIY remedies in an older home. While pouring boiling water down the sink is great for melting mild grease, it can warp or damage older plastic pipes. More importantly, we strongly recommend against overusing harsh chemical drain unblockers. These corrosive liquids generate intense heat that can eat through the brittle joints of aged clay or cast iron pipes, turning a simple blockage into a structural collapse.
How we diagnose and fix old property drainage issues
When the plunger is not cutting it, it is time to bring in the experts. We pride ourselves on taking the guesswork out of period plumbing.
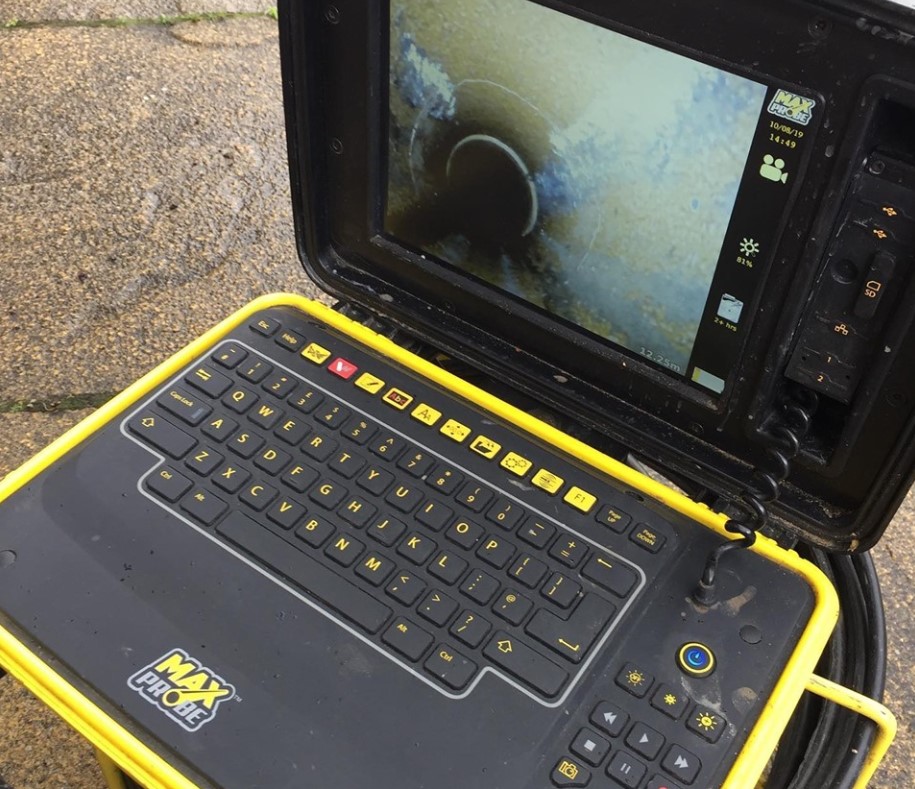
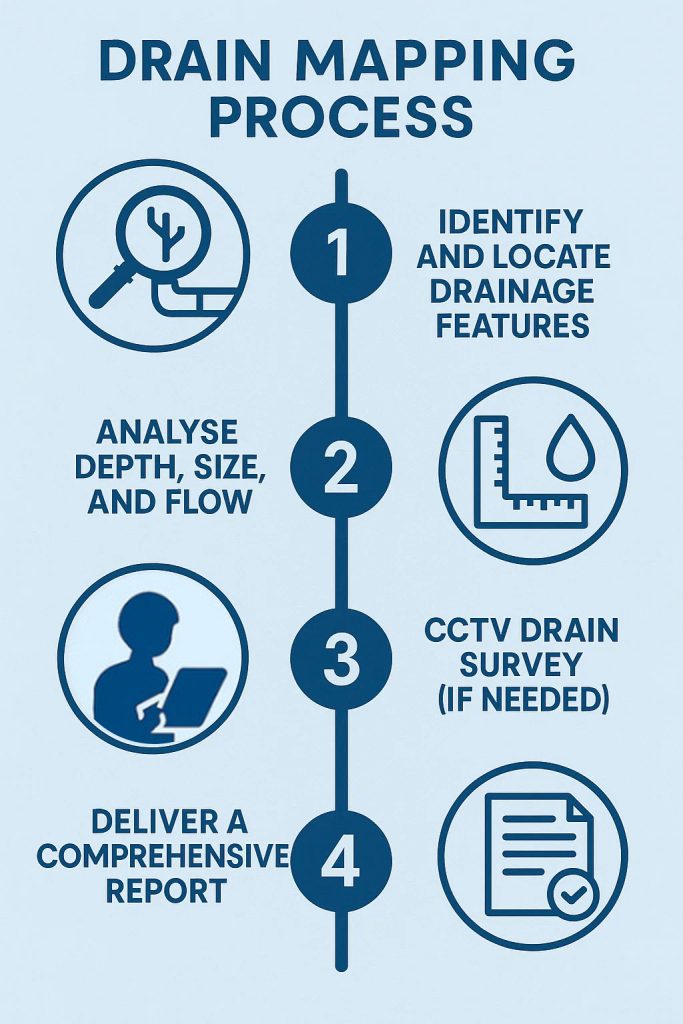
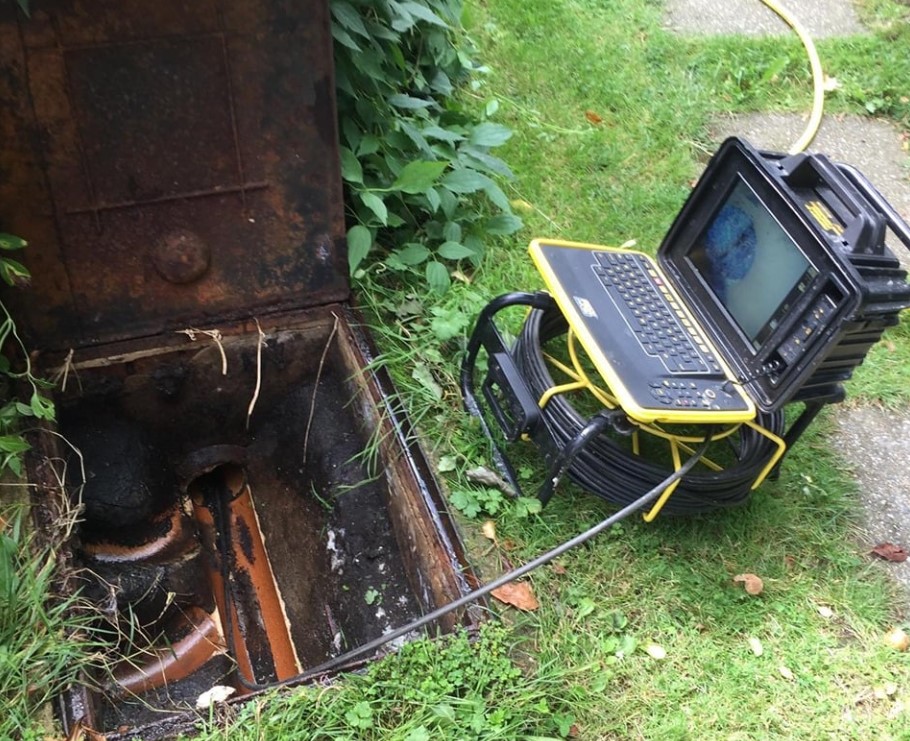
CCTV drain surveys (the fastest way to remove the guesswork)
We do not believe in digging up your garden just to find a fault. Using state-of-the-art camera equipment, we carry out detailed CCTV drain surveys to see exactly what is happening underground. This footage allows us to instantly spot tree roots, fractures, collapsed pitch fibre, or heavy scale build-up, ensuring we choose the right fix with minimal disruption to your home.
Drain jetting and cleaning
For heavy scale, grease, and silt, our high-pressure water jetting service is incredibly effective. The intense blast of water strips away decades of grime from the internal pipe walls, restoring your historic drains to near-original capacity.
Root cutting and preventative options
If our cameras spot a network of tree roots, we use specialist root cutting equipment to slice them away cleanly. Once the roots are gone, we can treat the area or repair the cracked joint to stop them from coming back next spring.
Repair options: relining vs excavation
Nobody wants their patio or driveway torn up. That is why we specialise in no-dig drain relining. We insert a flexible, resin-coated sleeve into the damaged pipe and inflate it. Once it sets, it creates a tough, watertight pipe within a pipe. We only ever resort to traditional excavation when a pipe has completely collapsed and cannot be saved.
How to reduce repeat drainage problems in a period home
Once we have your drains flowing freely, a little preventative maintenance goes a long way. Use sink strainers in the kitchen to catch food scraps, and avoid pouring cooking oils down the drain—let them cool and put them in the bin instead. Make a habit of clearing autumn leaves away from your outside gullies before they turn into sludge.
If you are currently in the process of buying a period property in London, we highly recommend booking a pre-purchase CCTV drain survey. It is the best way to ensure you aren’t inheriting thousands of pounds worth of hidden plumbing repairs.
Frequently asked questions
Why do blocked drains keep coming back in older houses?
Repeat blockages usually point to a structural issue rather than a simple clog. Things like cracked pipes, tree root ingress, or dipped pipework (bellies) will continuously catch waste until the underlying defect is professionally repaired.
Are victorian drainage pipes different from modern drains?
Yes. Modern drains use smooth PVC plastic with flexible joints that handle ground movement well. Victorian drains rely on rigid clay or cast iron for water and waste pipes, which are much more prone to cracking, corrosion, and root intrusion over time.
Is a CCTV drain survey worth it for an old London property?
Absolutely. It is the only way to accurately assess the condition of pipework that has been buried for over a century. It saves time, prevents unnecessary digging, and highlights minor faults before they become major emergencies.
Do you charge a call-out fee in London?
No, we never charge a call-out fee. We also do not add extra hidden charges for weekend visits. We believe in transparent, local rates for all our customers.
Do you offer emergency drain unblocking out of hours?
Yes, drains do not respect business hours, and neither do we. We provide a 24/7 emergency response service across London and aim to arrive at your property within 90 minutes of your call.
Let us get your period plumbing flowing perfectly again
Dealing with plumbing issues in an older home can feel overwhelming, but a blocked pipe does not have to ruin your week. While older drains are naturally more vulnerable to tree roots, shifting ground, and historic wear and tear, modern diagnostic tools make fixing them easier than ever.
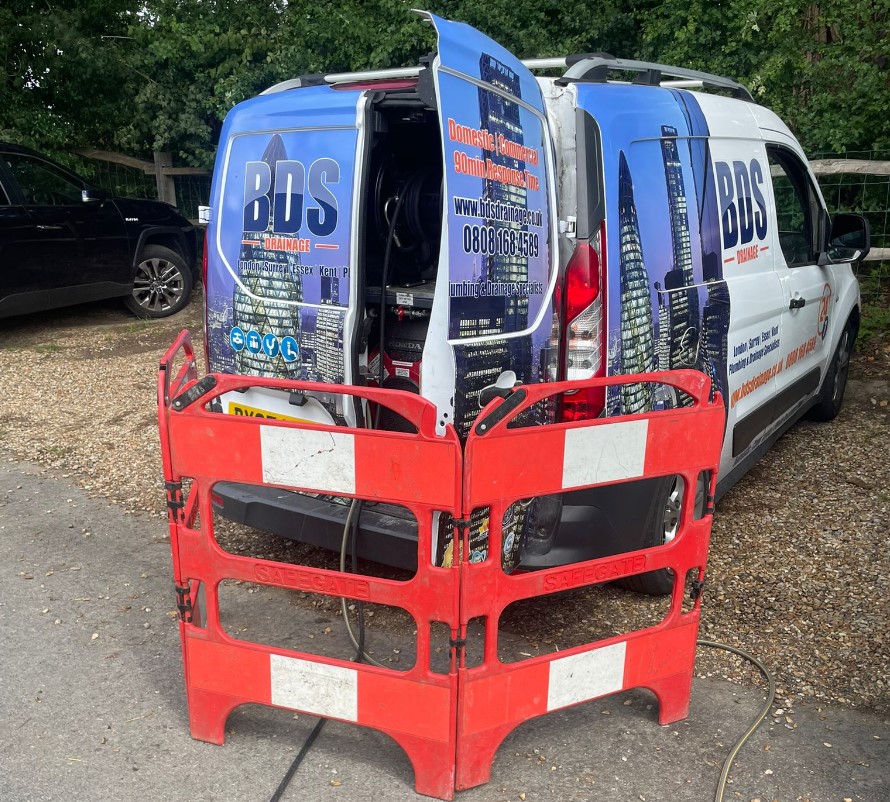
Our engineers at BDS Drainage are experts at untangling the mysteries of period plumbing. We provide fast, reliable, and tidy solutions tailored to your property. Because we do not charge a call-out fee and offer a solid 100-day guarantee on our work, you can trust us to get the job done right the first time.
If your historic drains are causing you grief, request a free quote via our website or get in touch with our team today. We will have your system running smoothly again before you know it.